Custom relations Enterprise Grid
Relations describe how work items are connected to each other.
Plane includes three default relation types that cover common use cases. You can create additional relation types tailored to how your organization thinks about work. For example, a team might define a "Tests" relation so QA work items link back to the features they validate, or a "Depends On" relation to model logical dependencies that don't map to scheduling constraints.
Custom relations are workspace-level configurations. Once created, they're available when linking work items across any project in the workspace.
Create a custom relation
Role: Workspace Admin
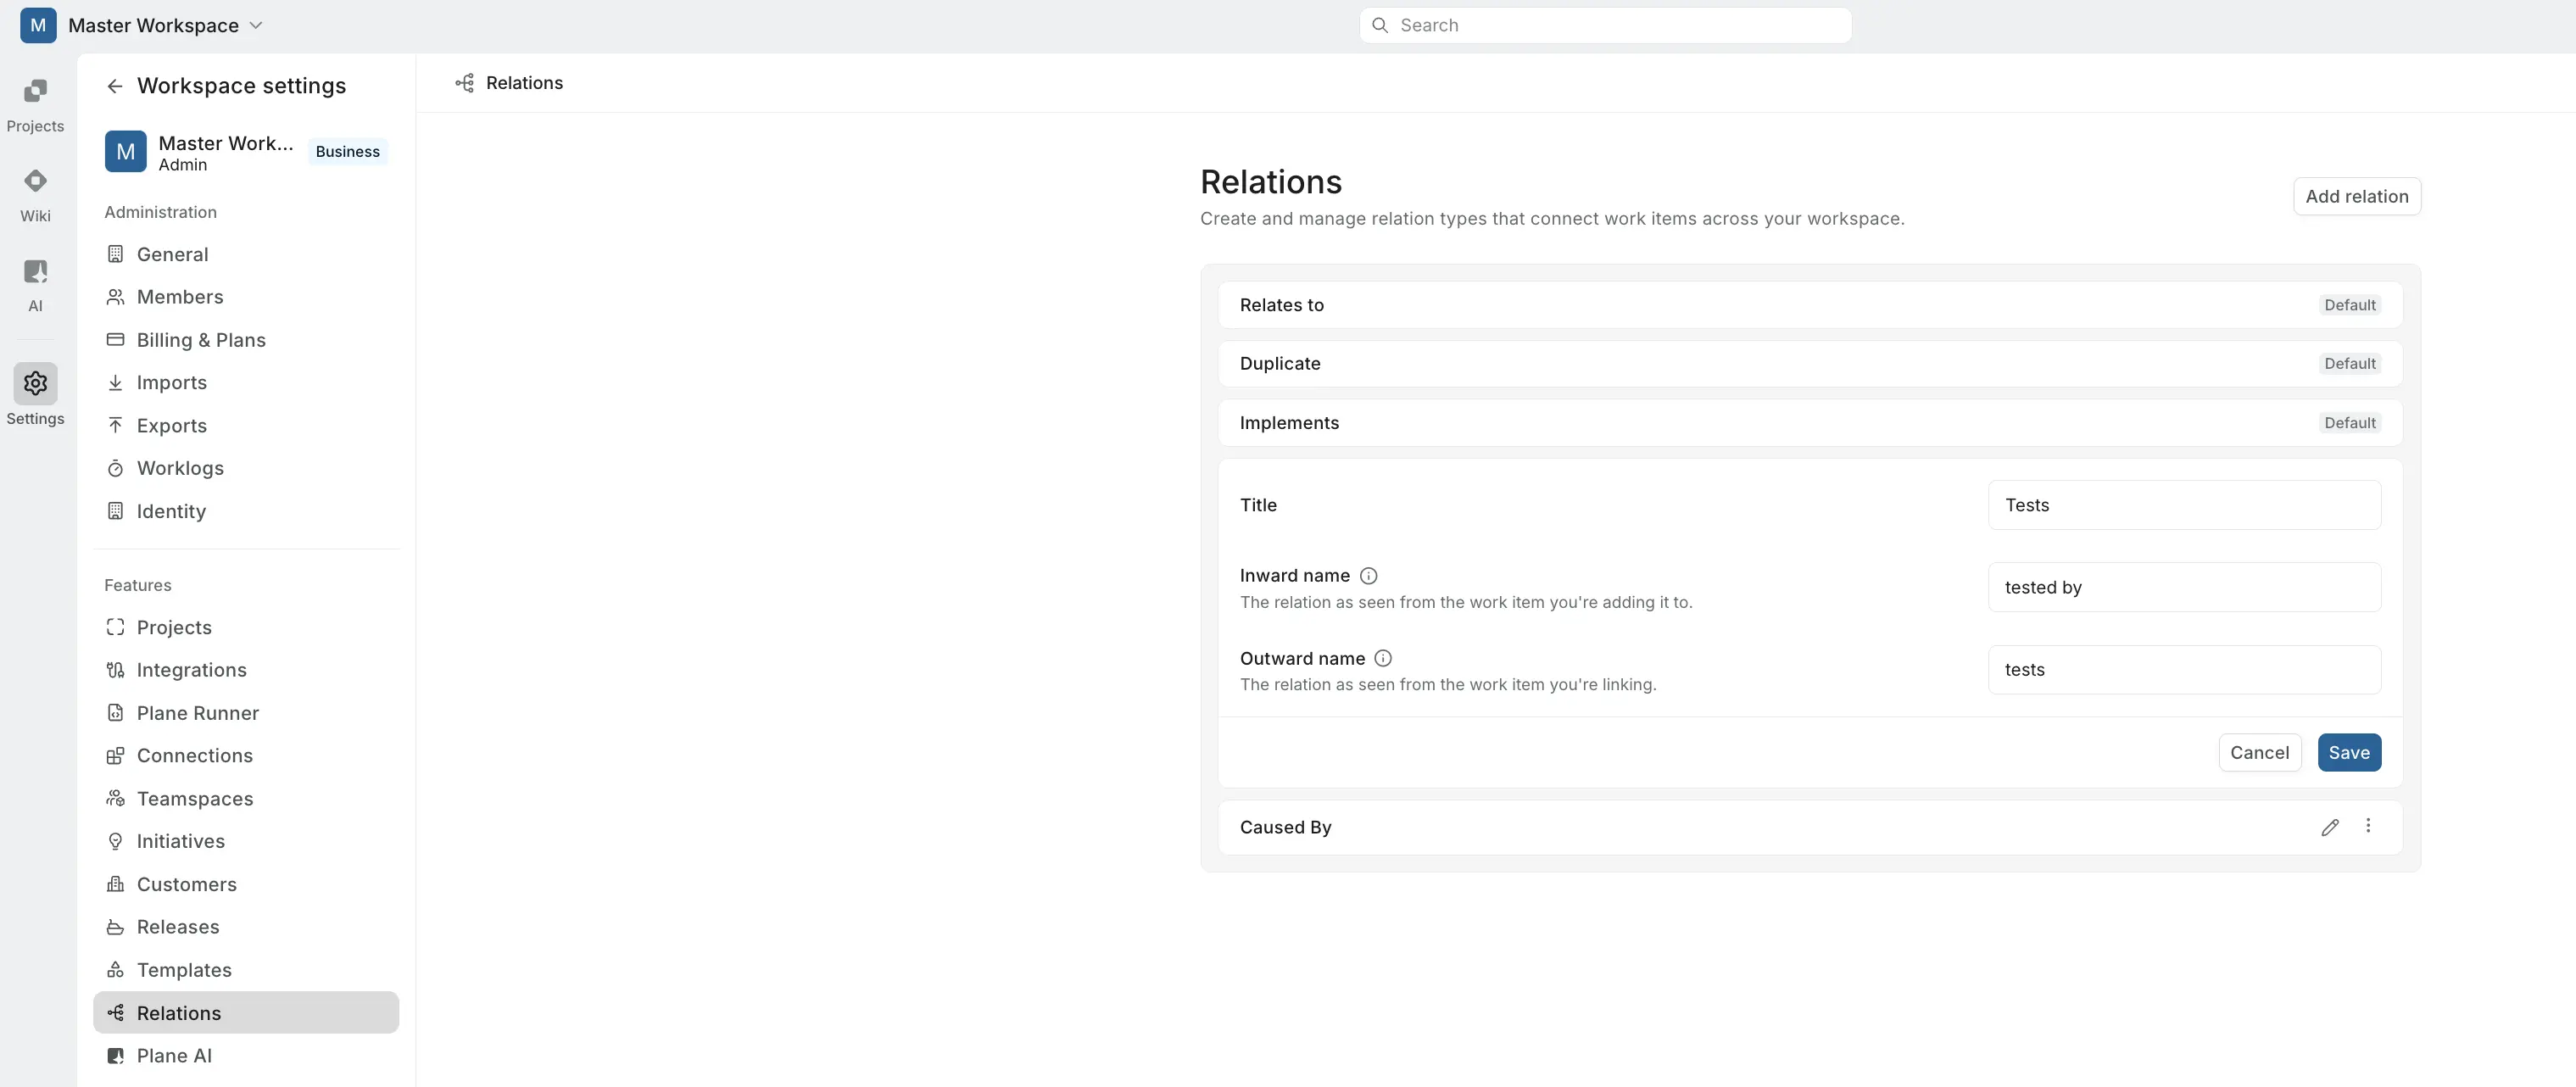
- Go to Workspace Settings > Relations.
- Click Add relation.
- Fill in the three fields:
- Title — the name of the relation type.
- Inward name — how the relation reads from the perspective of the work item you're adding it to (e.g., "blocking," "depended on by," "tested by").
- Outward name — how the relation reads from the perspective of the work item you're linking to (e.g., "blocked by," "depends on," "tests").
- Click Save.
The directional naming ensures the relation reads correctly from either side. The inward name appears on the work item you're adding the relation to, and the outward name appears on the work item you're linking.
Examples
| Title | Inward name | Outward name |
|---|---|---|
| Tests | tested by | tests |
| Caused by | caused | caused by |
Edit or delete a custom relation
Role: Workspace Admin
From Workspace Settings > Relations, click on any custom relation to update its title, inward name, or outward name. You can also delete custom relations you no longer need.
Changes apply across the workspace and update how the relation appears on any work items that already use it.
Use relations in work items
Once a custom relation exists, any project member can use it when linking work items.
- Open a work item.
- Click Add relation.
- Choose the relation type from the dropdown — both default and custom relations appear here.
- Select the work item to link.
The relation appears on both work items using the appropriate inward or outward label. Learn more about adding relations to work items.